


James Hardie siding is popular for a reason: it delivers a crisp, painted-wood look with solid durability when it’s installed correctly. The catch is that fiber cement is less forgiving than vinyl or wood. Small shortcuts—especially around moisture control, fastening, and clearances—can lead to swelling, cracked boards, paint failure, or leaks that show up months later.
If you want your siding to perform the way it’s supposed to, these are the most common installation mistakes to avoid.
Skipping the Moisture Management Basics
One of the biggest mistakes is treating siding like a simple “cover” instead of part of a larger water-control system. James Hardie products are built to shed water, but they are not a waterproof barrier by themselves. When installers skip or misuse a water-resistive barrier (housewrap or felt), fail to tape seams properly, or ignore proper integration with window and door flashing, water can get behind the boards and become trapped.
That trapped moisture can cause sheathing damage, interior leaks, and premature wear on paint and caulk. Another common issue is sloppy flashing at roof-to-wall intersections, deck ledgers, and kick-out areas where water tends to concentrate. If flashing isn’t layered correctly—always shingled so water flows outward—your home can develop hidden rot even if the siding looks perfect from the street.
Incorrect Clearances That Invite Rot and Cracking
Clearances matter more than many people realize, and ignoring them is a fast track to problems. Fiber cement needs space from roofs, decks, patios, steps, soil, and other surfaces so it doesn’t constantly wick moisture. When boards are installed too close to the ground or too tight to a roofline, they stay damp longer after rain and can deteriorate at the edges. The same goes for installing siding flush against trim, gutters, or masonry without proper gaps.
Clearances also protect against impact damage and allow for natural movement from temperature changes. Homeowners sometimes notice cracked corners, chipped edges, or swollen butt joints later on, and the root cause is often that the installer tightened everything up “for a cleaner look” instead of following clearance guidelines that keep the material dry and stable.
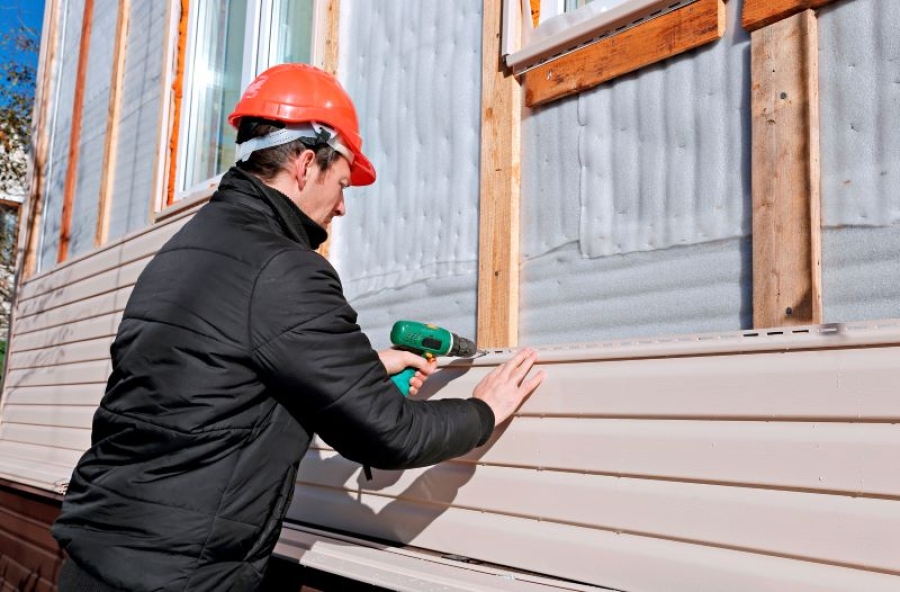
Fastening Errors That Cause Loose Boards and Ugly Nail Patterns
Fastening is another frequent trouble spot. Overdriven nails can crush the surface and weaken the board, while underdriven nails can leave the siding proud and prevent tight contact with the wall. Both issues can lead to movement, rattling, and visible distortions over time. Using the wrong nail type, incorrect spacing, or fastening into weak backing also creates long-term instability—especially in windy areas.
Face-nailing where it shouldn’t be done can leave obvious rows of fasteners that disrupt the clean, finished look and may even void performance expectations if it’s not part of an approved method. Poor stud layout is another culprit: if installers aren’t consistently hitting studs, boards may flex, seams can open, and caulk lines may split. A proper installation should look uniform, feel solid, and avoid “telegraphing” nail mistakes through uneven surfaces.
Sloppy Seams, Caulking, and Cut Edge Handling
Even if the boards are straight and the wall is wrapped correctly, careless seam work can ruin the job. Gaps at butt joints, misaligned laps, or seams stacked in obvious vertical lines can make the exterior look patchy and invite water intrusion. Caulk is often overused as a “magic fix,” but it’s not meant to replace flashing, proper joint treatment, or correct spacing. When installers smear on low-quality caulk, skip backer rod where needed, or fail to tool the bead, it cracks sooner and lets water in.
Cut edges also need attention; leaving raw cuts unsealed or poorly painted is a common mistake that can lead to moisture absorption and early paint failure. This is exactly where a skilled exterior remodeling contractor makes a difference, because the details—joint alignment, approved sealants, and properly finished cuts—determine whether the siding stays sharp for years or starts showing problems after one rough season.
Conclusion
Most James Hardie siding issues aren’t caused by the product—they’re caused by shortcuts during installation. When moisture management is handled correctly, clearances are respected, fasteners are placed properly, and seams and cut edges are finished with care, fiber cement siding can look great and perform reliably for a long time.
If you’re planning an install, focus on the details that prevent water intrusion and movement-related damage, because that’s what separates a clean, lasting exterior from an expensive redo.